
Windows 10 is a solid operating system but also hosts a plethora of errors. Out of all such errors Scanner not detected Windows 10 error is one of the prominent issues. When you upgrade your Windows OS from Windows 7 to Windows 10, then Windows 10 canon scanner not working properly occurs. It is quite a frustrating error for Windows users that need to be resolved. So if you are also experiencing such error and searching for the solution, then you have landed on the right page. So here are the methods to fix Scanner not detected Windows 10 error.
Scanner Not Working – How to Fix
If a problem scanning something went wrong error appears that means Windows 10 update is not done properly. It may also occur because of a faulty driver, wrong service configuration or the corrupted system file. So try these methods out now.
Method 1- Repair Corrupted System Files
Follow these steps to check for the faulty or corrupted system files.
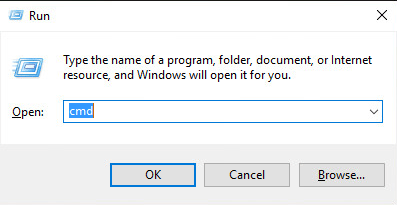
Step 1-Press down Windows logo and hit R key. A Run dialogue box will appear.
Step 2- Type cmd in the run box. Hit OK button.
Step 3- The Command Prompt window will open as Administrator.
Step 4- Now type sfc /scannow command. Press Enter.
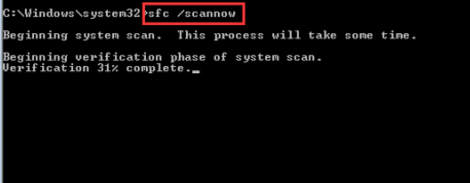
You will see the message Windows Resource Protection found corrupt files, but it was unable to fix them. Further, if your PC is running in good condition then the message Windows Resource Protection did not find any integrity violations will appear.
Step 5- In that case Enter Safe Mode.
Step 6- In Safe Mode with Command Prompt, now type sfc /scannow again. Press Enter.
It will take a few minutes for the process to get complete or fix the corrupted Windows system file.
Method 2- Configure some Related Services
If the above method does not seem to work, then you need to configure some related services that may have been disabled.
The services to be configured include-
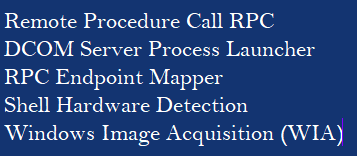
To check the service status of all these follow the steps-
Step 1- Open Run > Type command services.msc > OK.

Step 3- Find one of the related services mentioned above > select Properties.

Step 4- If status Stopped > click on the Start.
Step 5- Change the startup to Automatic > Apply.
Repeat the process for all related services as well.
Method 3- Update Driver for the Scanner
The problem of HP scanner not working windows 10 can be solved with the help of Driver Easy. If the driver for the scanner is having an issue, then the scanner cannot scan correctly. So updating the driver will resolve the problem.
Step 1- Download and install the Driver Easy manually. Launch it.
Step 2- Now click “Scan” and it will perform a full scan of your computer. It will then find for outdated, corrupt, damaged or missing drivers.
Step 3- If any corrupted drivers are there then click on Repair. If the drivers need to be updated then click on Update.
Now finally reboot your PC to see if the Windows 10 via drivers has helped to get rid of this scanner not working error or not.
So this was all. You can try any of the methods to solve the issue and then no longer face the same scanner error again.
Follow this guide,
Open Start > Settings > Apps > Apps & features
Scroll down to Scan app
Select it
Click Advanced options
Click Reset
Restart
Check the Store for updates. It should work.
Yes, you can try these steps. Share your experience.
It worked 👍
Thanks😇